
No matter if you made your child’s doll, own a waldorf doll or any doll for that matter! Make clothing for this doll. Its simple! Yes, easy! And I promise you you will be amazed by the opportunities this brings to both you and your child.

You child’s doll is a very important toy. In the waldorf philosophy it is often considered the most important one of all.
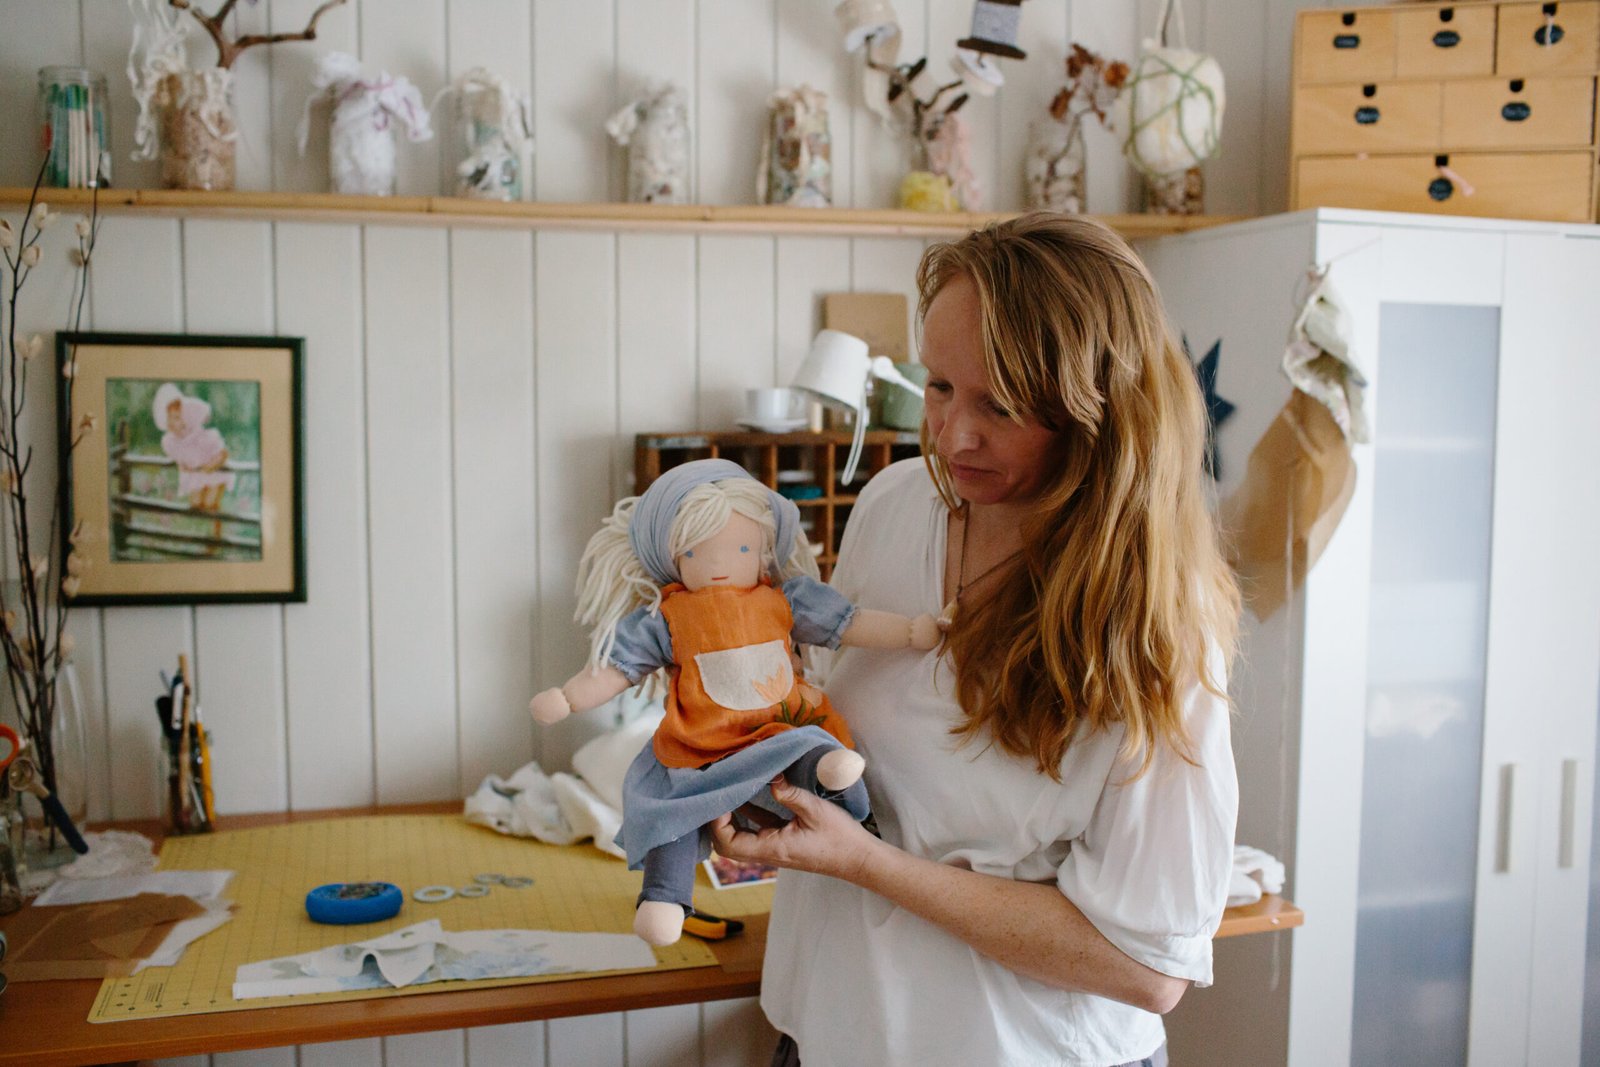
I am releasing a new E-Book this week and wanted to share some simple doll clothing (included in the clothing bundle E-Book) with you today!
I hope you can take time today, tomorrow, next week or next month to try and make these simple clothes for your child’s doll. You can use their old clothing and up-cycle them. If you enjoyed it, please consider purchasing my E-Book complete with detailed photographs, written tutorial, five patterns and endless variations.
Enjoy!!!!
For a few years now I make dolls and have previously made very simple doll clothing for my childrens dolls. When it came time to teach others to make dolls I didnt want to send them off without clothing for their dolls. Instead, at the end of a Windelpopo Doll Workshop I show them how to sew simple doll clothing for their handmade dolls from clothing they do not need anymore. We use primarily knit fabrics since they dont fray and we can leave the edges unfinished.

I wanted to give a quick intro to this type of cloth making. If you bought your childs waldorf doll you can simply make clothing described in this blog post. Imagine your child watching you as you make a tshirt for your doll from her old clothing. The message it gives them for their own future choices in how to spend their money and make their clothes when there is a need.
I am considering releasing some simple patterns via a link here in the near future but please consider that each doll is different. You may need to adjust some details in the pattern according to your unique doll. If your doll is thicker or thinner, by size (30cm or 40cm dolls) or by fullness of hair (so you can get the shirt over the head with all of that amazing mohair).

Draw a simple tshirt pattern on some paper and place it on the tshirt fold to cut. I left the tshirt as is and by cutting it as indicated in the picture i already have two pieces of fabric for my tshirt.

Pin the two pieces of your tshirt together and sew according to the image below leaving a generous opening around the neck at the top.

Turn inside out and voila. A new tshirt for this little man.


The tshirt we worked with here was a small childrens tshirt so we didnt have much room. Note that I am always trying to use the hemed edgles in order to have a nice finish to all clothing created.

Place your fabric on the folds (this is very easily found in the arms of these tshirts) and cut according to the pattern you have drawn.

Pin as indicated in the picture above and sew as indicated in the picture below.

Pick up your pants and align the two seams you have just sewn above one another. You can now see the legs of the pants. Sew them just like in the picture below from the bottom of one leg up and back down to the bottom of the other.

The picture above shows a casing I created simply by folding over the top and sewing around it. Sew this and all knit garments using a light zig zag stich (even tough we forgot it here) it will work on doll clothing but better to use zigzag.

As a very simple way to tie the pants around the belly of your doll use a large needle and thread through it with some yarn. This can also be a neat way for your child to practice how to tie a bow.

Thread it all the way around and come back out in the front of the pants. If you know how to make these using elastic do this but during my workshops many participants come with very little experience and I like to keep things as simple as possible.

Voila. You created a cute little set of shirt and pants for your doll.

During one of our workshops a mama wanted a dress for her doll. The picture above shows you how easy it is to make a dress for a doll out of a t-shirt using the simple t-shirt pattern.
Important rules are to place the t-shirt pattern on the garment using the same direction of the stretch to ensure you can get it over the dolls head and hair. Alter this pattern if your doll is larger than the ones in my picture or have a lot of hair.

You sew the dress the same way you sew the t-shirt. We used the bottom edge of the t-shirt so have a neat finish. Remember this works for shirts with buttons too. You can keep them and add a lot of detail with very little effort. Furthermore, you little one can practice opening and closing the buttons of the dress or shirt.

Turn the dress right side out.

This step is optional. If you like use some yarn and a large ball point needle to create an additional detail around the collar of the dress.

Done!

Below is a happy doll workshop participant of mine with her doll.

Want more. Visit my easy shop for more simple doll clothing and my bundle with step by step insructions and patterns for the above outfits and more. Instant pdf download is available.

Mahalo for reading. Sabine!